Custom Disk Partitioning Installation
| Custom Disk Partitioning Installation |
Customize Disk Partition is the advanced user option, this is able to create custom partition slice and create multiple label. Customize Disk Partition lets you choose how much space to use on the hard drive. It also lets you allocate the label as wished. UFS, UFS Journaling softupdates, SU+J and a swap that should equal the system ram.
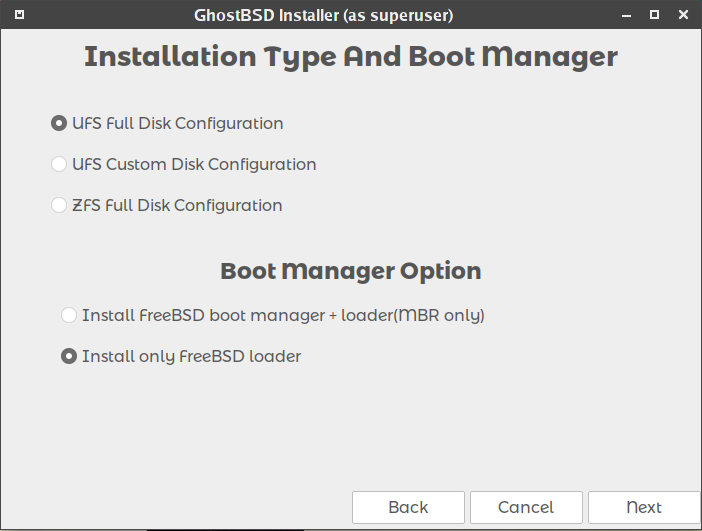
Selecting Disk, Installation option and Boot Manager
Figure 2.7a: Selecting Disk, Installation option and Boot Manager
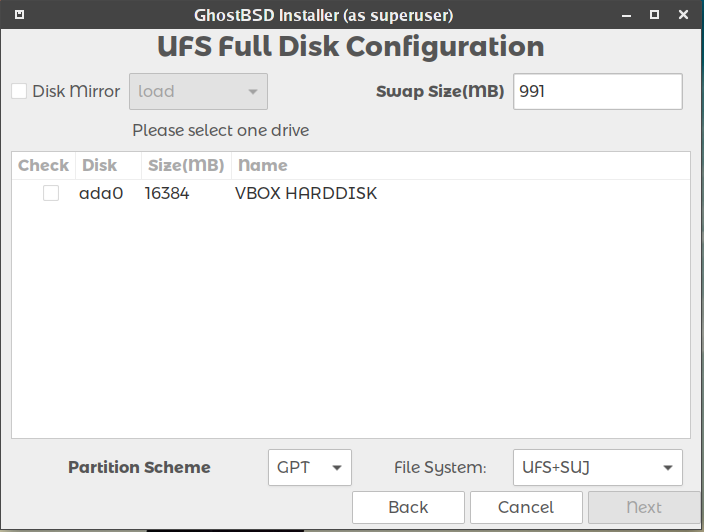
Choosing Disks
Choose the disk where GhostBSD is to be installed.
Auto label Partition
Select Auto label Partition to edit partition slice to the disk you want to install GhostBSD.
BSD Boot Loader
GhostBSD can be installed with or without a bootloader. If you dual boot with GNU/Linux on the same disk, you should use your Gnu/Linux Grub. We recommend you to use GhostBSD Boot Loader with MS Windows.
Editing slice partition
To create a partition for GhostBSD you need at least 10gb.
| Warning! Make sure to back up all important data before editing the target disk where GhostBSD will be installed. The GhostBSD installer partition editor is a real time editor and it will not ask you before making changes to the disk, but once the process has started it cannot be undone. |
Figure 2.7b: Editing slice partition
(This screen may look a bit differently on later versions.)
Creating Partition
To create a partition select the free space and click on the Create button. Adjust the space to the desired amount.
Deleting Partition
To delete a partition, select the partition to delete and press the Delete button.
| Note: you have to select the right partition to install GhostBSD before pressing Forward. |
Creating Labels Partitions
Figure 2.7c: Creating labels partitions
(This screen may look a bit differently on later versions.)
Deleting Partitions labels
For deleting partitions labels you Select the label to delete and you click on the Delete button.
Create and edit labels
The button Create will start the labels editor to Create new labels. You can also edit Partition labels already setup, by clicking on the Edit button.
| Note: You should always erase all old BSD partitions to avoid installation problem. |
Labels editors
When you click on Create or Edit the labels partitions editor appears for editing custom partitions labels.
Figure 2.7d: Labels Editors
(This screen may look a bit differently on later versions.)
Setting the Filesystem.
- Selecting the Type of file system
UFS, UFS+S, UFS+J, UFS+SUJ can be use for GhostBSD file system.
- Choosing Size
The size given to a labels will limit the size of the mount point directory selected. Some space need to be allocated for a BSD swap.
- Selecting Mount Point
Mount Point contain a list of directory as follow /, /boot, /etc, /home, /root, /tmp, /usr, /var and you can specify your own one.
Setting Swap
- Selecting the Type
Under Type choosing SWAP will create BSD swap.
- Choosing Size
Matching the Size of the Swap with the ram Size is recommended, but if the machine is not used for compiling, installing apps from ports, or for heavy processing, the swap can be set a lot lower in size.
- Selecting mount point
Select the Mount Point to none.


